The front wire of the lure can avoid the moment of pulling, and protect the front section of the main line from scratching obstacles after dragging the bait or catching the fish. Most fishermen don’t know how to tie the front wire GT. Here is a detailed introduction to the GT’s tying method.
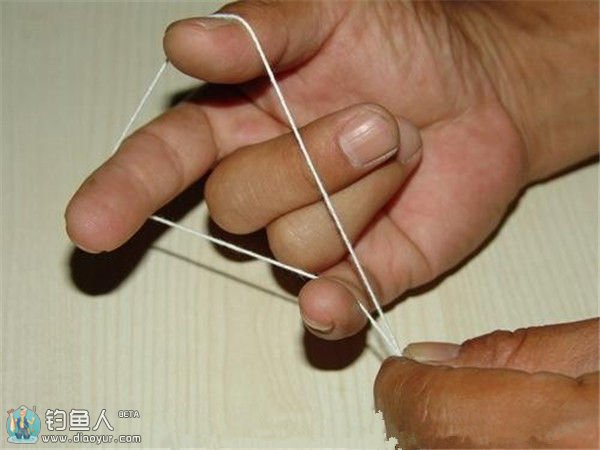
1. For the convenience of shooting, use thick cotton thread instead of PE thread, and use penholder and fly main thread to replace the front wire in different steps. First, bend the PE wire in pairs as shown in the figure and spread it out with your index finger and thumb.

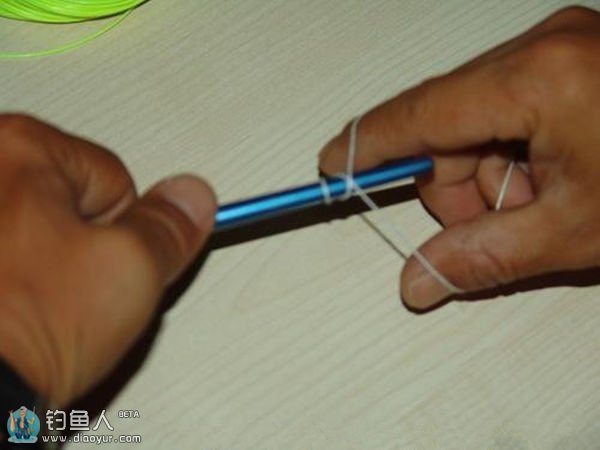
2. Wrap the two wires at the other end of the coil around the little finger several times so that it will not loosen after the little finger is bent.

3. Insert the front wire into the circle formed by the PE wire and the palm of the hand as shown in the figure, so that the PE wire is placed on top of the front wire.

4. After the two wires are crossed, turn the coil hand under the front wire so that the PE wire is cross-wrapped on the front wire.

5. Turn the coil hand to the top of the front wire and turn it over again, let the PE wire cross and wrap the front wire on the top of the front wire again. Cross-wound more than 20 turns in this form.

6. The effect after several turns of winding is shown in the figure. After this step, replace the front wire with the fly main wire to demonstrate. The main point of cross-winding is that after each winding, the PE wire should be slightly tightened, and the wound coil should be pinched with the other hand to prevent the coil from slack, and then continue to be wound for another round. If the cross-wound coil is slack, even if the following steps are done well, the completed GT will be easily loosened.

7. Next, we need to tie the end knot, the method is as shown in the figure: Use the end of the PE wire to bend backward and cross the wound front wire. Please note that the PE wire in the picture crosses in front of the front wire, and the cross point should be Close to the position of the last coil that was wound before, and pinch it with your other hand to prevent it from moving.

8. After that, wind the end of the wire from the bottom of the front wire to the back and pass it out of the bent loop.

9. After threading out, bite the end of the PE wire with your teeth and tighten it. While tightening, pay attention to the position of the knot is still close to the previously cross-wound loop.

10. Continue to tie the final knot, and pay attention to the direction of the knot here. It is the opposite of the first knot.

11. The tail end of the PE wire is bent back from the back of the front wire and then wound forward under the lead, and then passes through the loop back.

12. After the PE thread tail is passed through, the method is the same as the first closing knot. The second knot must also be close to the first closing knot without leaving a distance between them. Pay attention to the pulling direction when pulling the end of the thread.

13. The closing knots after the first and second are tied, are next to each other as shown in the picture. After that, repeat the step of combining the first knot with the second knot to finish the knot and you need to tie 7-8 knots.

14. After all the finishing knots are tied, grasp the lines at both ends of the front GT knot and pull it hard. One way to do this is to ensure that all the knots are further tightened, but to check the quality of the GT knots.
After tightening, use a strand cutter to cut all remaining threads. When cutting the front wire, it is best to cut it close to the position of the last end knot, that is to say, you can leave a little thread end to ensure that the front wire end will not jam at the wire guide ring of the pole when the reincarnation line is shaken.

15. After the completion of the GT knot, the GT knot is tied well and its strength can even be higher than the strength of the straight tension on the line. Moreover, this tying method of the GT knot makes the whole knot very smooth, and will not affect the qualifying when throwing.


